PickMyTrade – In the world of trading, automation can significantly enhance efficiency and accuracy. One of the tools that has gained popularity is PickMyTrade, which allows traders to automate their TradingView indicators. This blog will guide you through the process of creating alerts for indicators using PickMyTrade, ensuring you can streamline your trading strategy effectively.
Table of Contents
- Table of Contents
- Understanding PickMyTrade Alerts
- Creating Buy and Sell Alerts
- Stop-Loss and Take-Profit Settings
- Utilizing TradingView Variables
- Handling Multiple Accounts
- Generating and Validating Alerts
- Webhook URL Configuration
- FAQs
- What are the benefits of using PickMyTrade?
- Can I use PickMyTrade for multiple accounts?
- How do I ensure my alerts are correctly set up?
- Where can I learn more about using TradingView and PickMyTrade?
Table of Contents
- Understanding PickMyTrade Alerts
- Creating Buy and Sell Alerts
- Utilizing TradingView Variables
- Handling Multiple Accounts
- Generating and Validating Alerts
- Webhook URL Configuration
- FAQs
Understanding PickMyTrade Alerts
Before diving into the specifics of creating alerts, it’s essential to understand what PickMyTrade offers. The platform allows users to generate alerts for various trading scenarios, including buy, sell, and close actions. This feature is particularly useful for those using TradingView indicators.
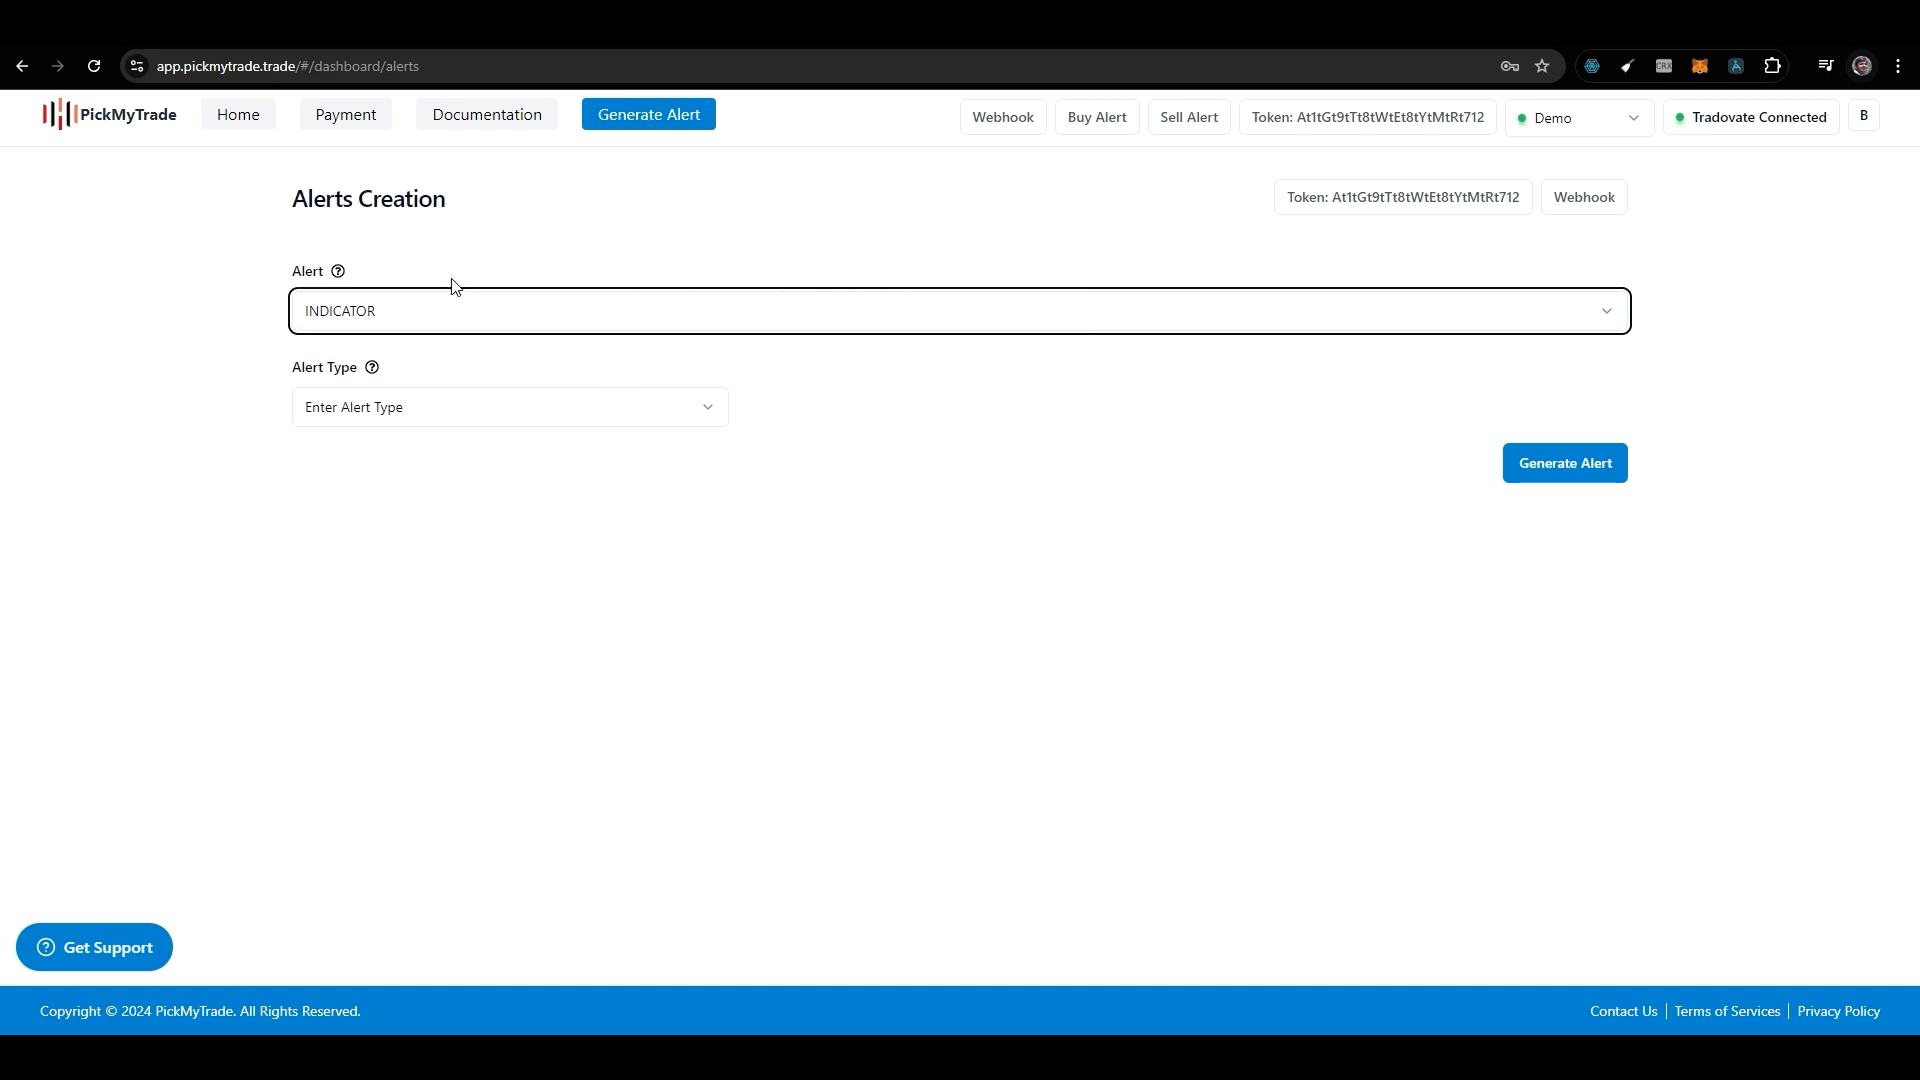
When you log into PickMyTrade, the first step is to navigate to the alert generation section. Here, you’ll be prompted to choose the type of alert you wish to create. The options include:
- Buy Alert
- Sell Alert
- Close Alert
Each of these alerts serves a distinct purpose, enabling traders to manage their positions effectively. For instance, a close alert is crucial when a trader wants to exit a position at a specific price point.
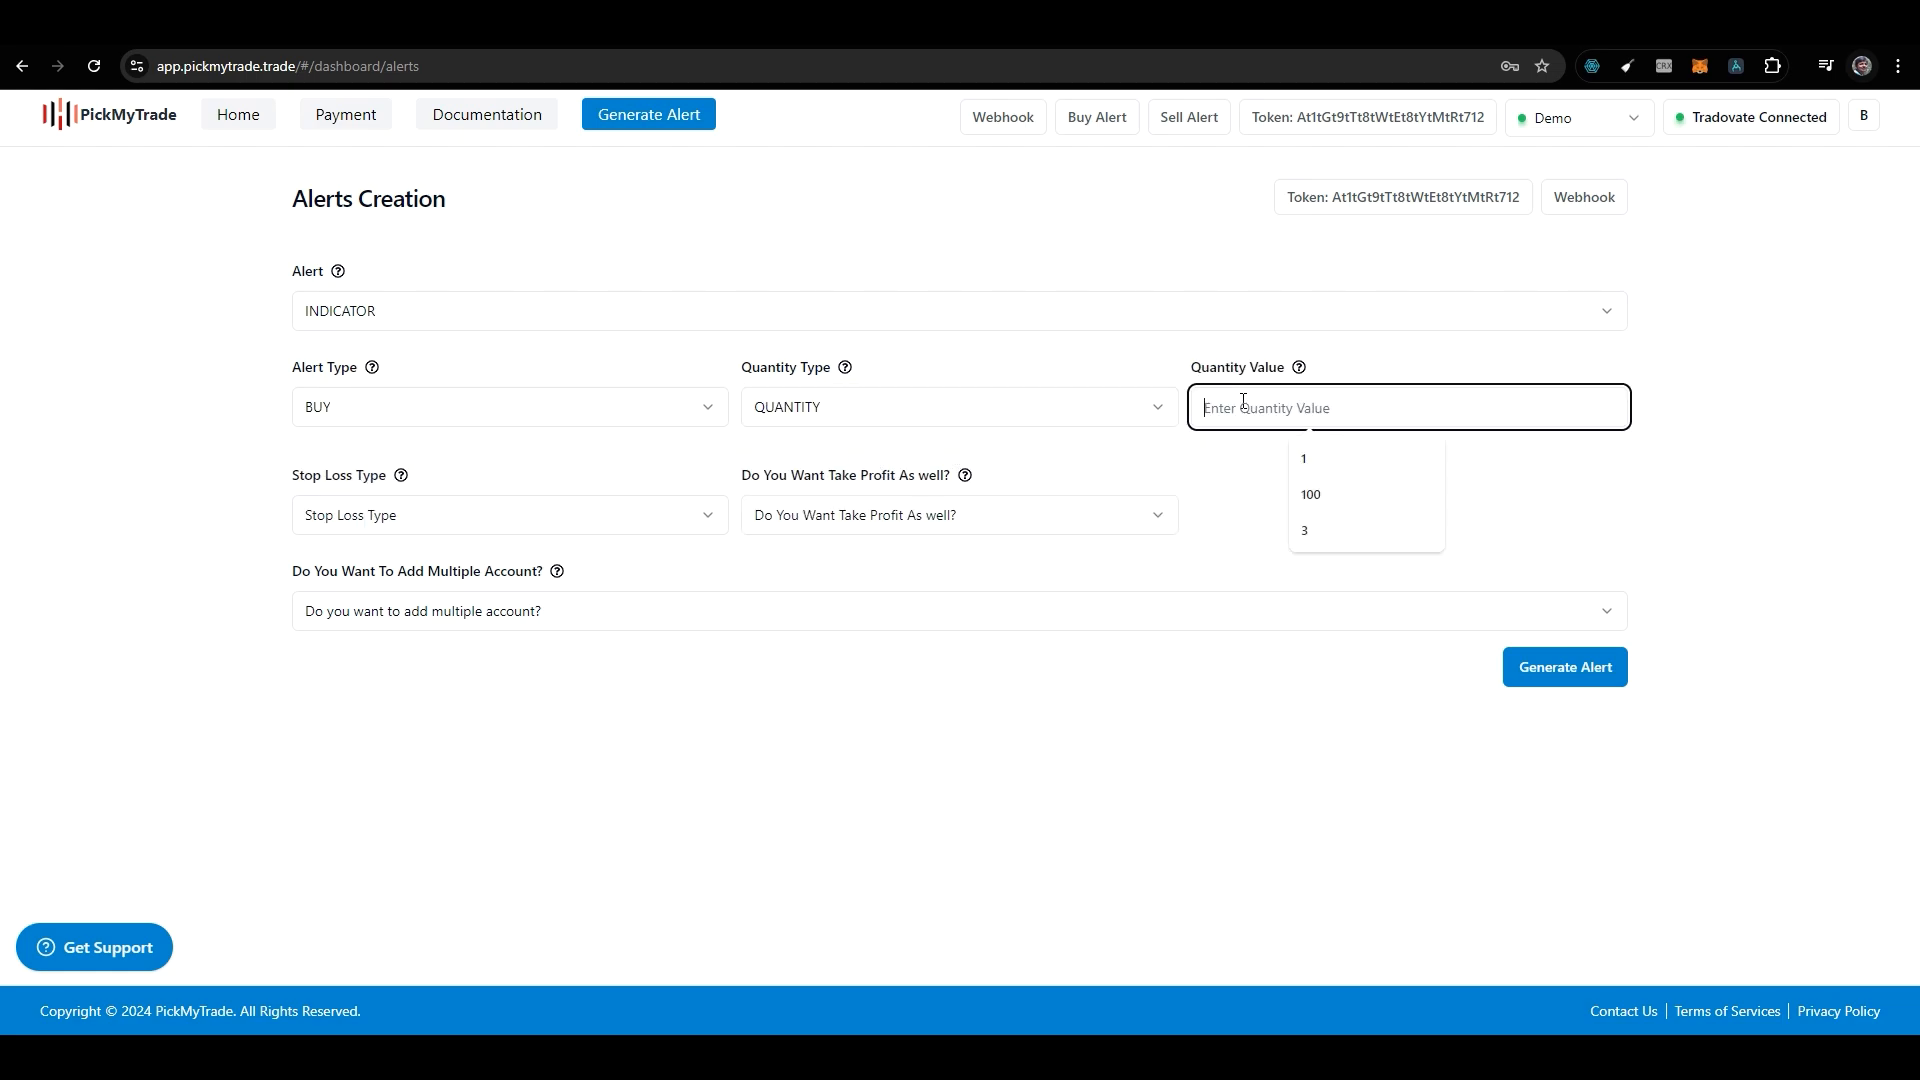
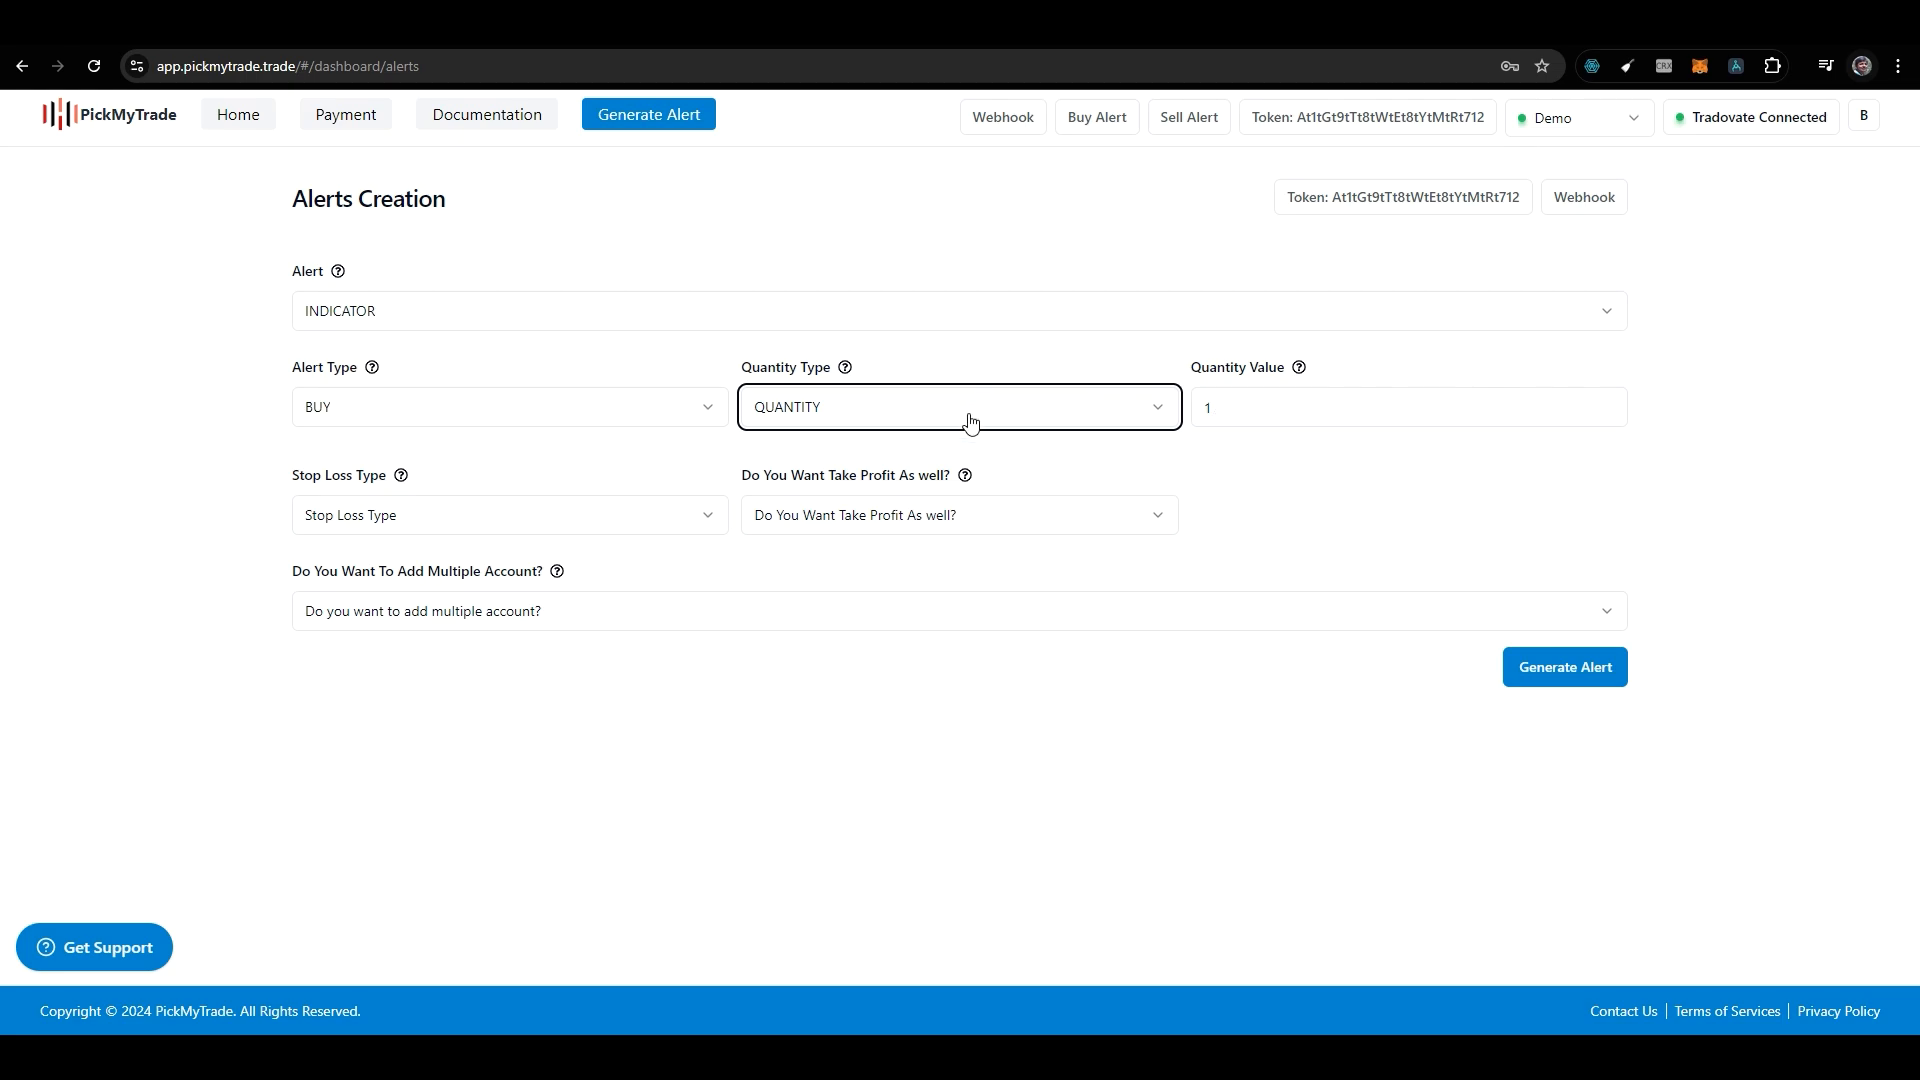
Creating Buy and Sell Alerts
Creating a buy or sell alert in PickMyTrade is straightforward. After selecting the type of alert, the next step involves specifying the quantity type. You have two options here:
- Quantity
- Risk Percentage
If you choose quantity, you can specify the number of contracts you wish to trade. On the other hand, selecting risk percentage allows for a more calculated approach, letting you define how much of your account value you are willing to risk for each trade.
When opting for the risk percentage, it’s mandatory to set a stop-loss order as well. This ensures that the system can accurately calculate the risk based on your entry price and stop-loss value.
Stop-Loss and Take-Profit Settings
After determining the quantity type, you will need to set your stop-loss parameters. PickMyTrade supports three types of stop-loss settings:
- Dollar Amount
- Percentage
- Specific Price
For instance, if you select a dollar amount for your stop-loss, you might set a stop-loss of $10 for a trade where the entry price is $1,000. It’s important to note that the profit and loss calculations will consider the lot size, which can sometimes lead to confusion.
Alternatively, you can set a stop-loss based on a percentage of the entry price. This method is beneficial for those who prefer a more dynamic approach to risk management.
Utilizing TradingView Variables
One of the unique features of setting alerts in PickMyTrade is the ability to use TradingView variables. This allows you to specify exact prices that will trigger alerts based on your TradingView indicators. For example, if you have an indicator that outputs a take-profit level, you can pass that variable directly into your alert settings.
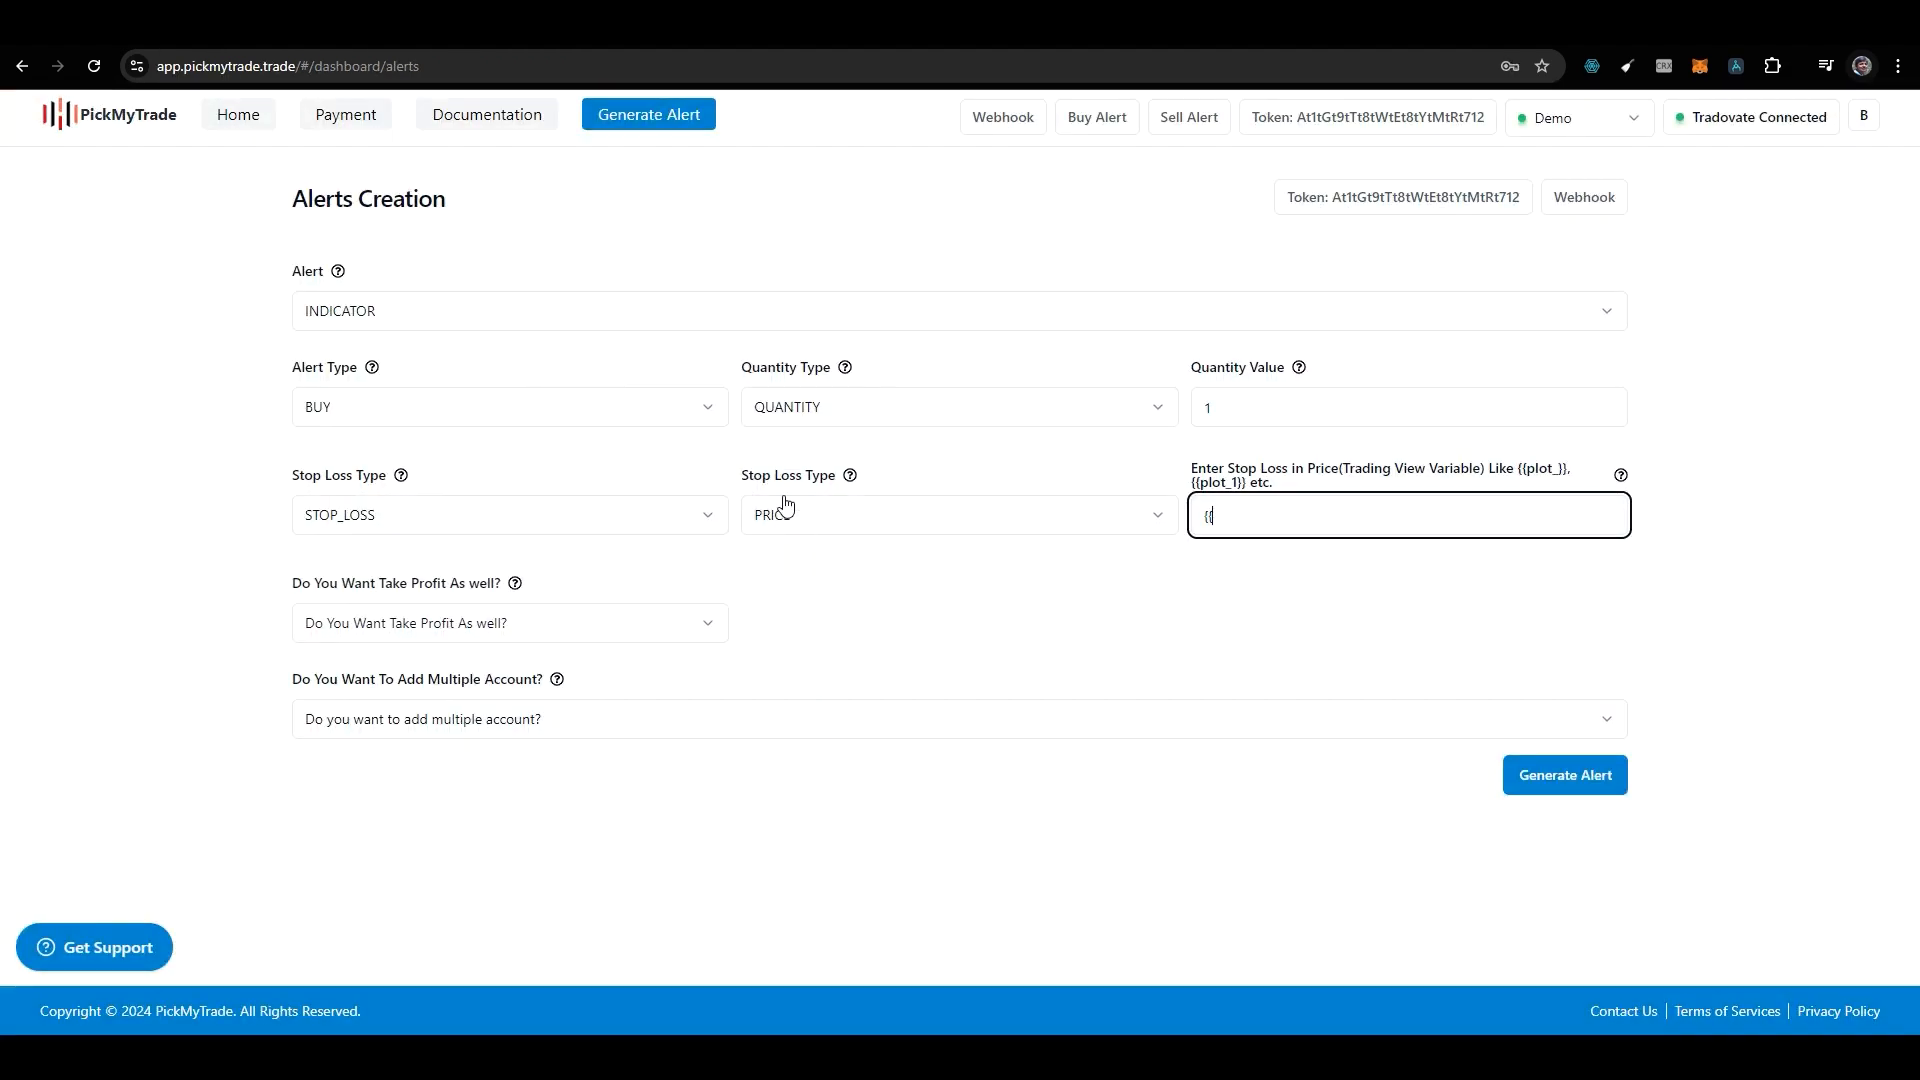
To pass a TradingView variable, you need to use specific syntax, such as plot01 or plot19. This ensures that the alert is tailored to the specific outputs of your TradingView indicator, making your trading strategy even more precise.
Handling Multiple Accounts
For traders who manage multiple accounts, PickMyTrade also supports automation across different accounts. This feature is particularly useful if you’re trading on behalf of others or managing several portfolios.
To set this up, you’ll need to enter the tokens for each account and specify the parameters accordingly. Once you’ve done this, you can generate a single alert that automates trades across all linked accounts.
Generating and Validating Alerts
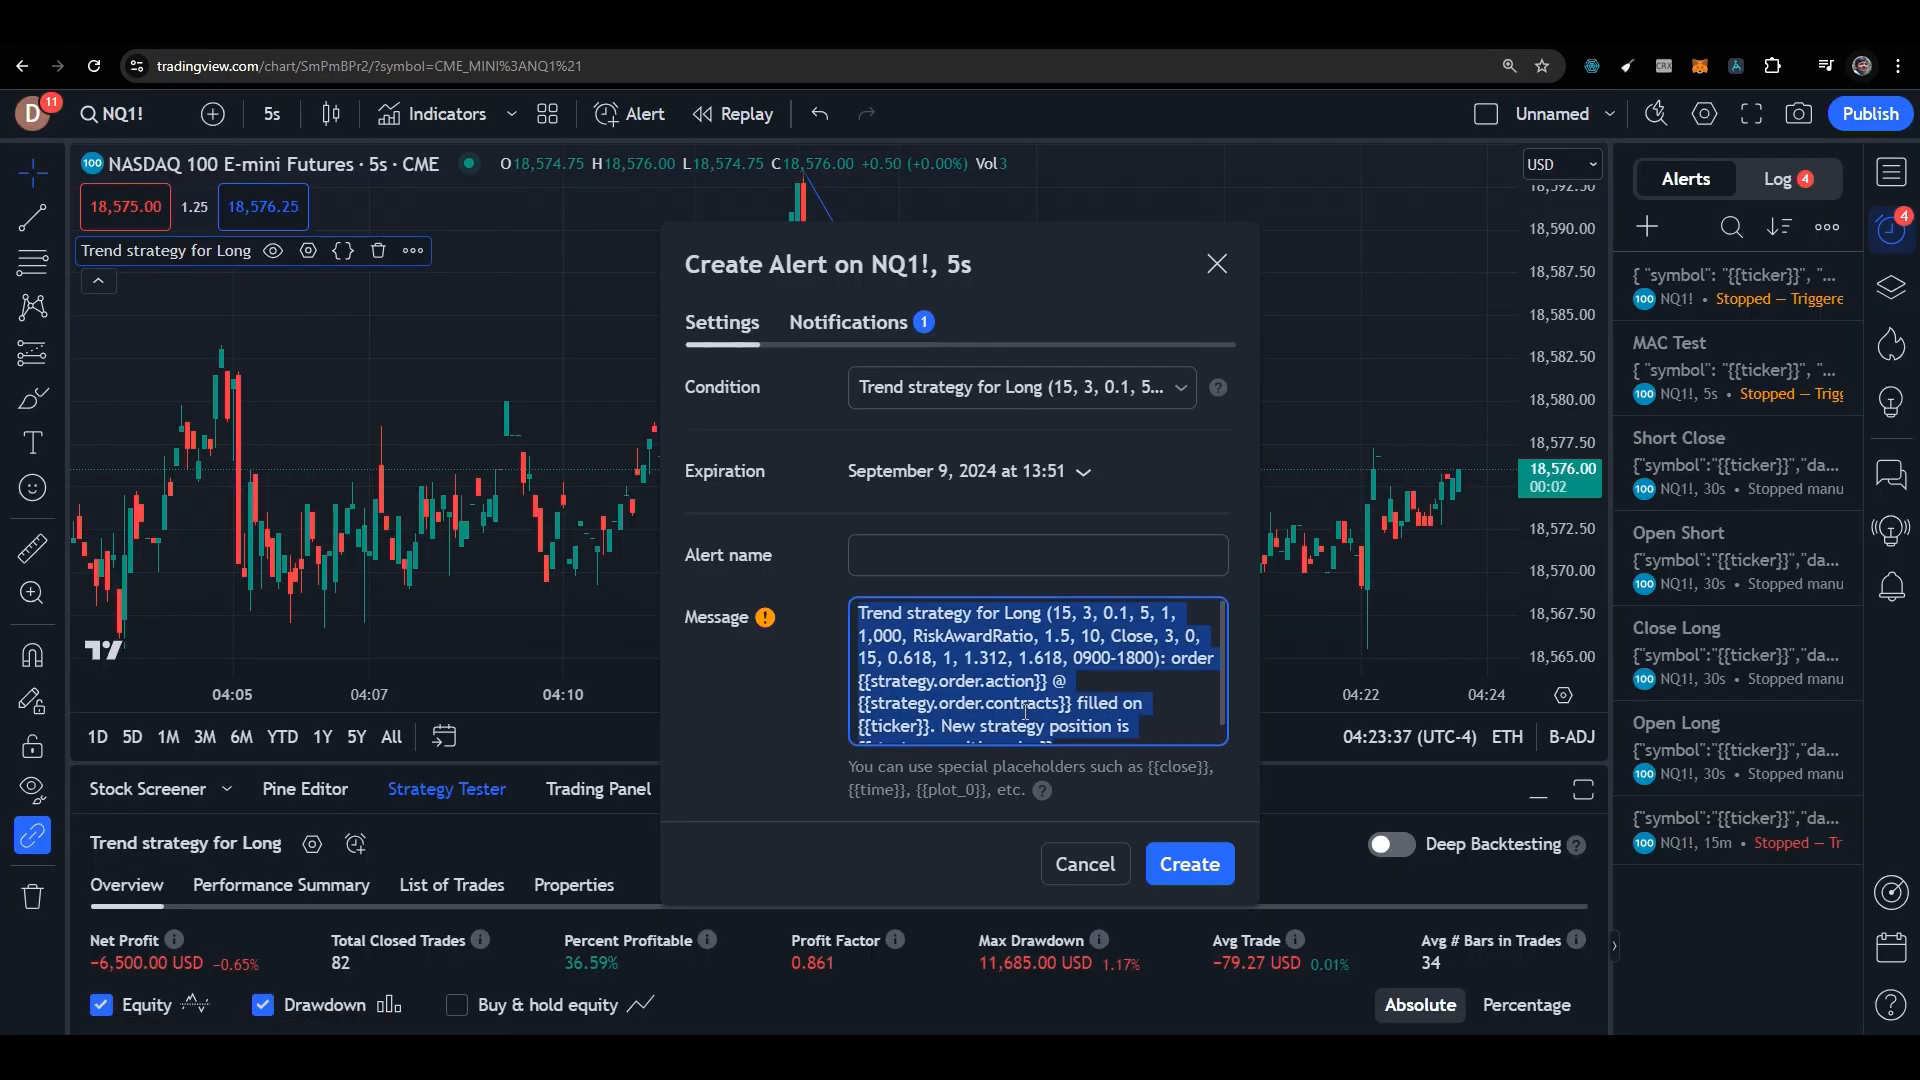
After configuring your alert settings, the next step is to generate the alert. It’s crucial to ensure that the alert is properly formatted, as any errors can prevent the alert from functioning correctly.
Once the alert is generated, you can copy the code and paste it into TradingView. Make sure to check for a validation tick mark, indicating that your JSON format is correct. If there are any errors, TradingView will display a message, allowing you to troubleshoot before proceeding.
Webhook URL Configuration
When creating alerts, you’ll also need to configure the webhook URL. This URL is essential for receiving trade notifications in PickMyTrade. You can find the webhook URL in the dashboard under the alert generation section. Ensure that you copy and paste it correctly to avoid missing trade notifications.

FAQs
What are the benefits of using PickMyTrade?
PickMyTrade allows traders to automate their trading processes, reducing the need for manual intervention and increasing efficiency. It also facilitates better risk management through calculated stop-loss and take-profit settings.
Can I use PickMyTrade for multiple accounts?
Yes, PickMyTrade supports automation across multiple accounts, making it ideal for traders managing several portfolios or trading on behalf of clients.
How do I ensure my alerts are correctly set up?
After generating your alert, always check for a validation tick mark in TradingView. This indicates that your JSON is formatted correctly, ensuring the alert will work as intended.
Where can I learn more about using TradingView and PickMyTrade?
You can find additional resources and tutorials on platforms like YouTube to enhance your understanding of these tools.
With the right setup, using PickMyTrade can transform your trading experience, allowing for streamlined operations and more strategic trading decisions. Whether you’re a seasoned trader or just starting, mastering these tools is crucial for success in the trading landscape.
PickMyTrade specializes in automating trading bots, enabling seamless strategy execution for futures from platforms like TradingView, across well-known brokers such as Tradovate.
Made with VideoToBlog