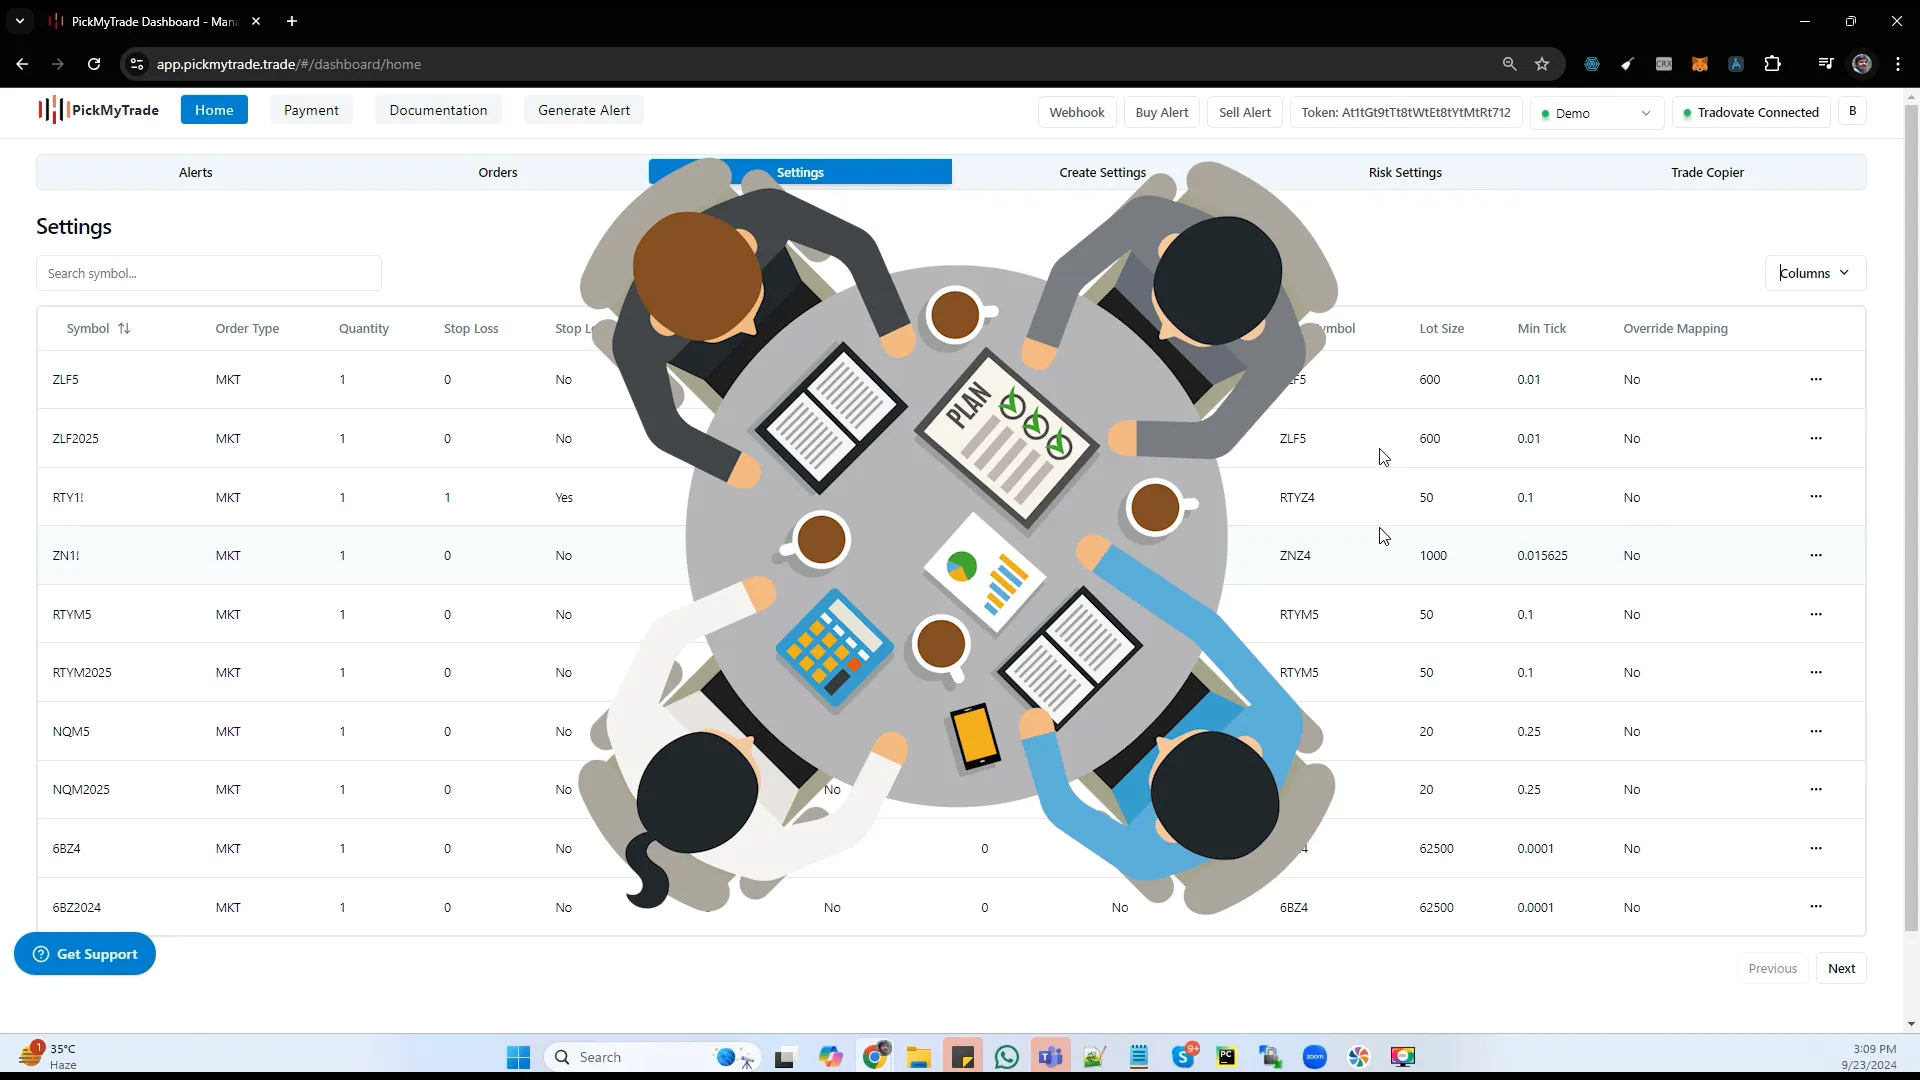
Hello friends! Today, we’re diving into the settings section for automated trading, particularly focusing on how to manage symbols effectively. Most users won’t need to make any changes, but it’s always good to know what’s going on behind the scenes. If you want to check the mapping for a specific symbol, you can simply search for it.
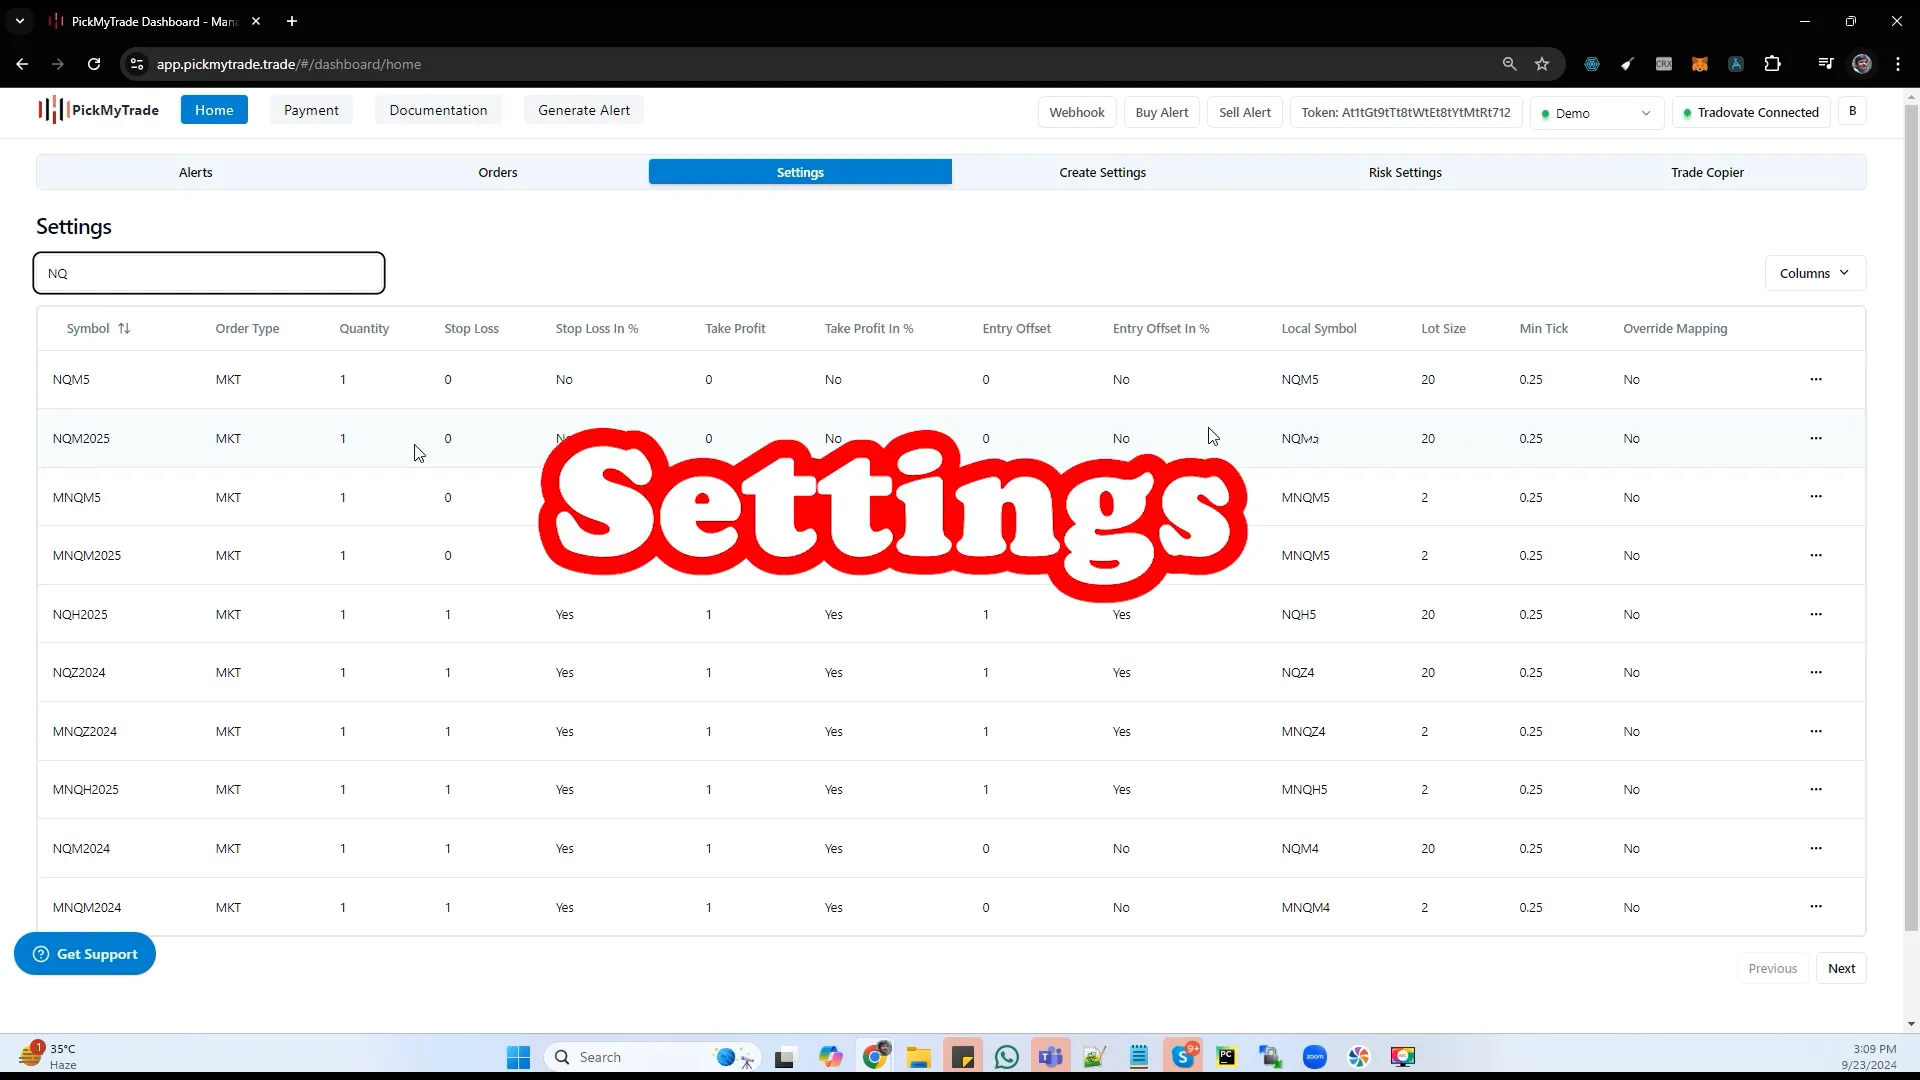
For example, if I search for NQ, all the mappings for NQ are readily available. So, what exactly is mapping? When a symbol comes from TradingView, we place the trade as nqm 5 because Tradovate doesn’t recognize the initial symbol. They only understand this specific mapping, which is crucial for executing trades correctly.
Now, let’s talk about stop-loss and take-profit settings. In the past, we used to set these manually, but now it’s streamlined. You can generate an alert directly from the settings, allowing you to set your stop loss and take profit without much hassle.
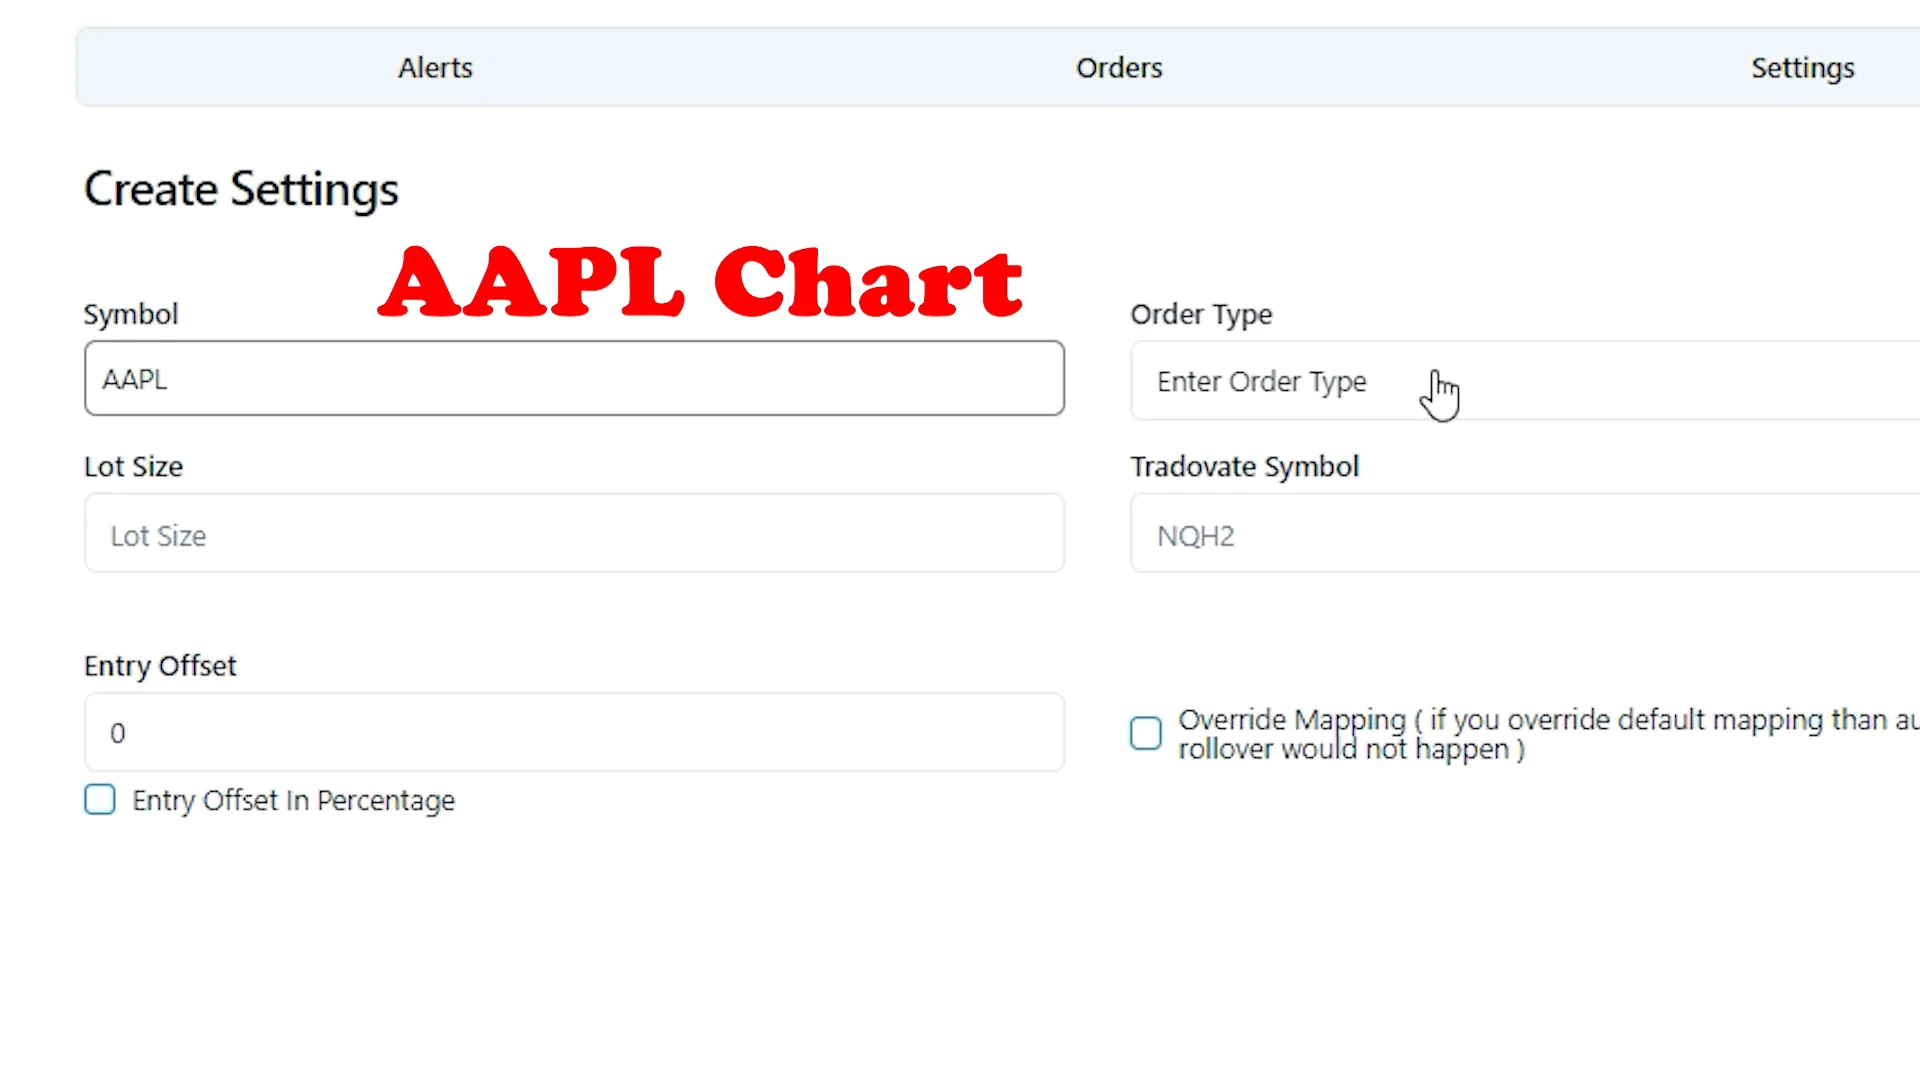
Another important aspect of settings is the type of order you’re using. Typically, we default to a market order type, but if you’re placing a limit order for entry, you’ll need to adjust that. Let’s say you’re tracking an Apple chart and want to place a trade based on a signal from TradingView. If you want to execute a limit order, you can input your desired quantity right from the generate alert section.
For instance, when placing a trade for nqz4, it’s essential to ensure that your lot size and minimum tick are accurate. You don’t need to set the entry offset if you’re placing a limit order. Let’s say the current market price is 100, but you want to place a limit order above that price. If you set it to minus two, your order will be placed at 102, improving your chances of getting filled.
This brings us to creating custom mappings. Once you click to create a custom mapping, ensure that you check the appropriate options. If you’re manually setting these configurations, you’ll want to overwrite the default settings carefully.
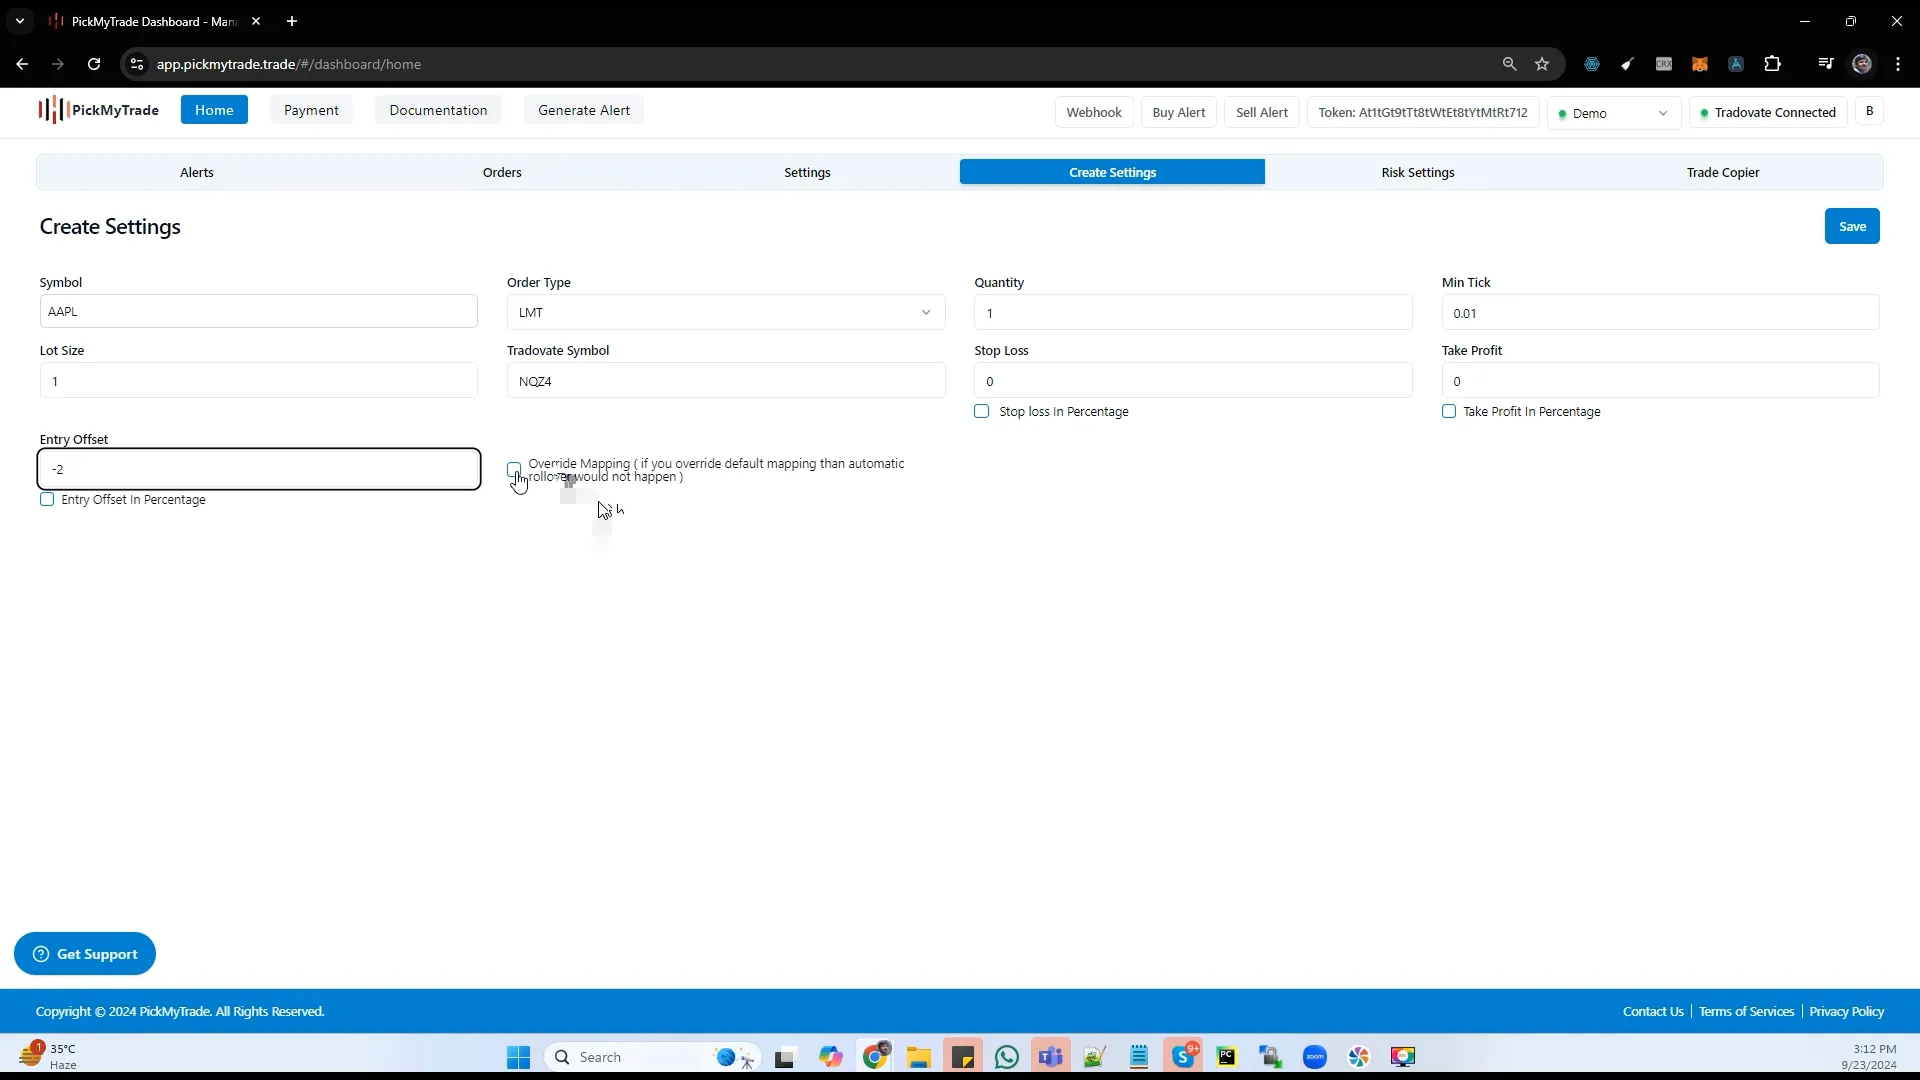
Regarding auto rollover, if nqz4 is set to expire, we will automatically shift to the March contract of 2025. However, this won’t happen if you update the settings incorrectly. By default, we assume no rollover, but if you overwrite the mapping, ensure that the auto rollover option is enabled. This is crucial to avoid issues later on.
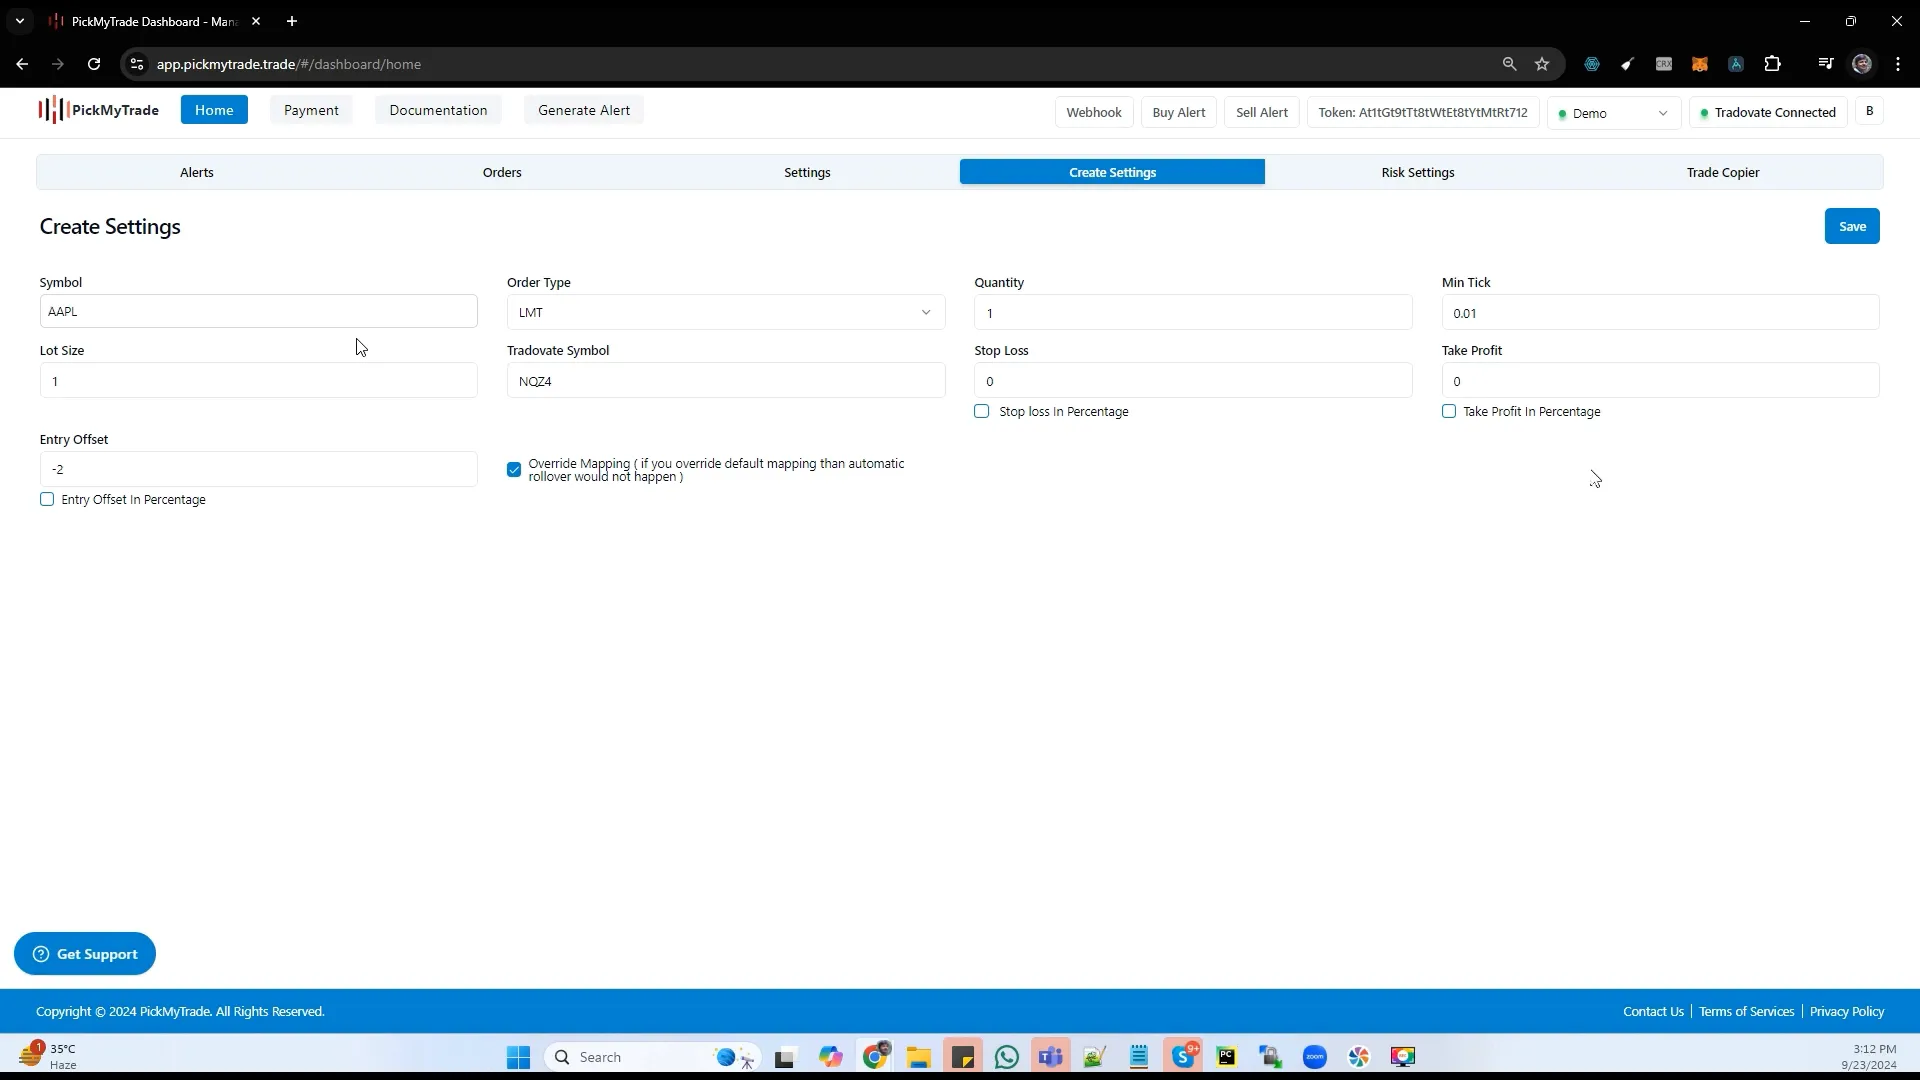
If you need to check the minimum ticks and lot size for your contract, head over to TradingView and access the security info. The point value will indicate your lot size, while the tick size will be available for input in the respective fields. Remember, take profit and stop loss values will come from the general settings, and the entry offset will help position your order above the market price, enhancing your order fill chances.
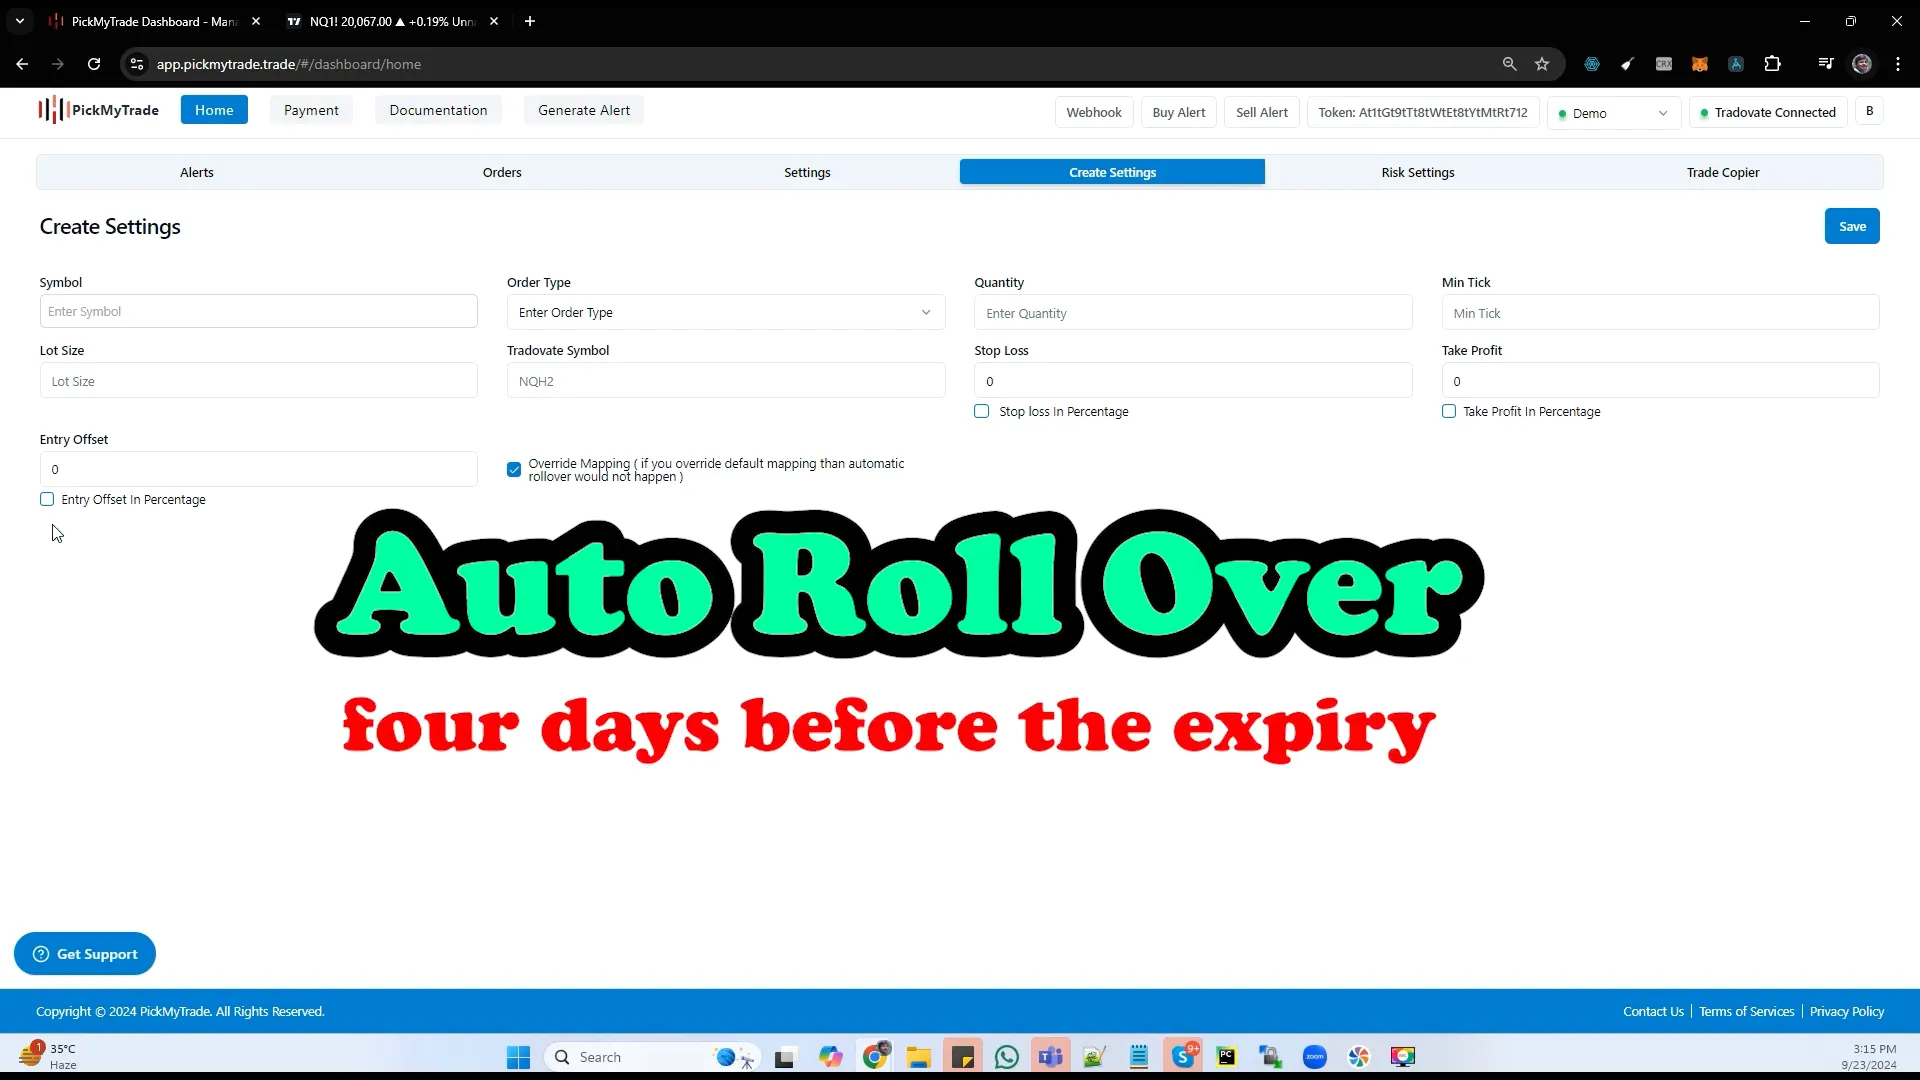
Lastly, for auto rollover, we’ll set it to occur four days prior to the expiration of a contract. If you have any open orders on the previous contract, you’ll need to close those manually, as the system will only take new orders or mappings into account.
That’s a wrap on what I wanted to cover today! Understanding these settings can significantly enhance your trading experience, making it smoother and more efficient. Join the automated trading revolution with PickMyTrade and take your trading to the next level!
PickMyTrade
PickMyTrade specializes in automating trading bots, enabling seamless strategy execution for futures from platforms like TradingView, across well-known brokers such as Tradovate.


Hi there are using WordPress for your site platform?
I’m new to the blog world but I’m trying to get started and set up my own. Do you require
any html coding expertise to make your own blog? Any help would be really appreciated!
website
Thank you for sharing your info. I really appreciate your efforts and I am waiting for your next post thanks
once again.
casino en ligne
Very great post. I just stumbled upon your weblog and wanted to mention that I’ve really enjoyed browsing your blog posts.
In any case I’ll be subscribing for your rss feed
and I hope you write once more very soon!
casino en ligne
Hi there, i read your blog from time to time and i own a similar
one and i was just wondering if you get a lot of spam remarks?
If so how do you protect against it, any plugin or
anything you can suggest? I get so much lately it’s driving me crazy so any assistance is very much appreciated.
casino en ligne
Greetings I am so excited I found your webpage, I really found
you by accident, while I was browsing on Digg for something else, Anyways I am here now and would just like to say many thanks for a marvelous post
and a all round exciting blog (I also love the theme/design),
I don’t have time to look over it all at the minute but I have bookmarked it and also added
in your RSS feeds, so when I have time I will be back
to read a lot more, Please do keep up the excellent work.
casino en ligne
Nice weblog here! Additionally your site a lot up fast! What web host are you the usage of?
Can I get your associate hyperlink for your host? I want my site loaded up as quickly as
yours lol
casino en ligne
Hi there, just became alert to your blog through Google, and found that it’s truly informative.
I’m going to watch out for brussels. I will appreciate if you continue this in future.
Many people will be benefited from your writing. Cheers!
casino en ligne
Good respond in return of this matter with real arguments and explaining all about that.
casino en ligne
Magnificent website. Plenty of helpful information here.
I am sending it to several pals ans also sharing in delicious.
And certainly, thank you to your effort!
casino en ligne
Every weekend i used to pay a quick visit this web site, because i
wish for enjoyment, since this this web site conations actually pleasant
funny stuff too.
casino en ligne